Now that the two blades have been heat treated
and cleaned up on the polisher I need to decide
what handle material to use on them . There are still some scratches on the bevels , but I will sand them out when I do the final sharpen and clean
I decided on some Turkish Walnut for the skinner and Yew for the nessmuk (I think its a nessmuk)
The walnut came from Stew Light about 18 months ago and the yew came from Isca Woodcraft's .
In this photo the scales are just roughly cut to size.
Here they are profiled on my grinder . I find grinding them to shape with a 80 grit belt is quicker and neater than cutting them with a coping saw

I drill one hole and then pin the blade to the scale to keep it in place while I drill the other holes .I use a 4mm drill for the pins and a 6mm drill for the lanyard tube

Once the holes have been drilled. I pin the two scales together and shape the front edge . Its easier to get the two scales symmetrical if you shape them together.

I thought I would have a go at using some fiber liners with the yew scales, so I epoxied the scales to the liners and clamped them together

While the glue was drying on the yew scales I started putting the skinner together . once the pins and tube are cut to length I give everything a good clean with acetone .

After a nice even coat of epoxy on the scales,pins and tube I fit the pieces together and put them in my vice for about 24 hours . At this point I cant do much more until the glue dries
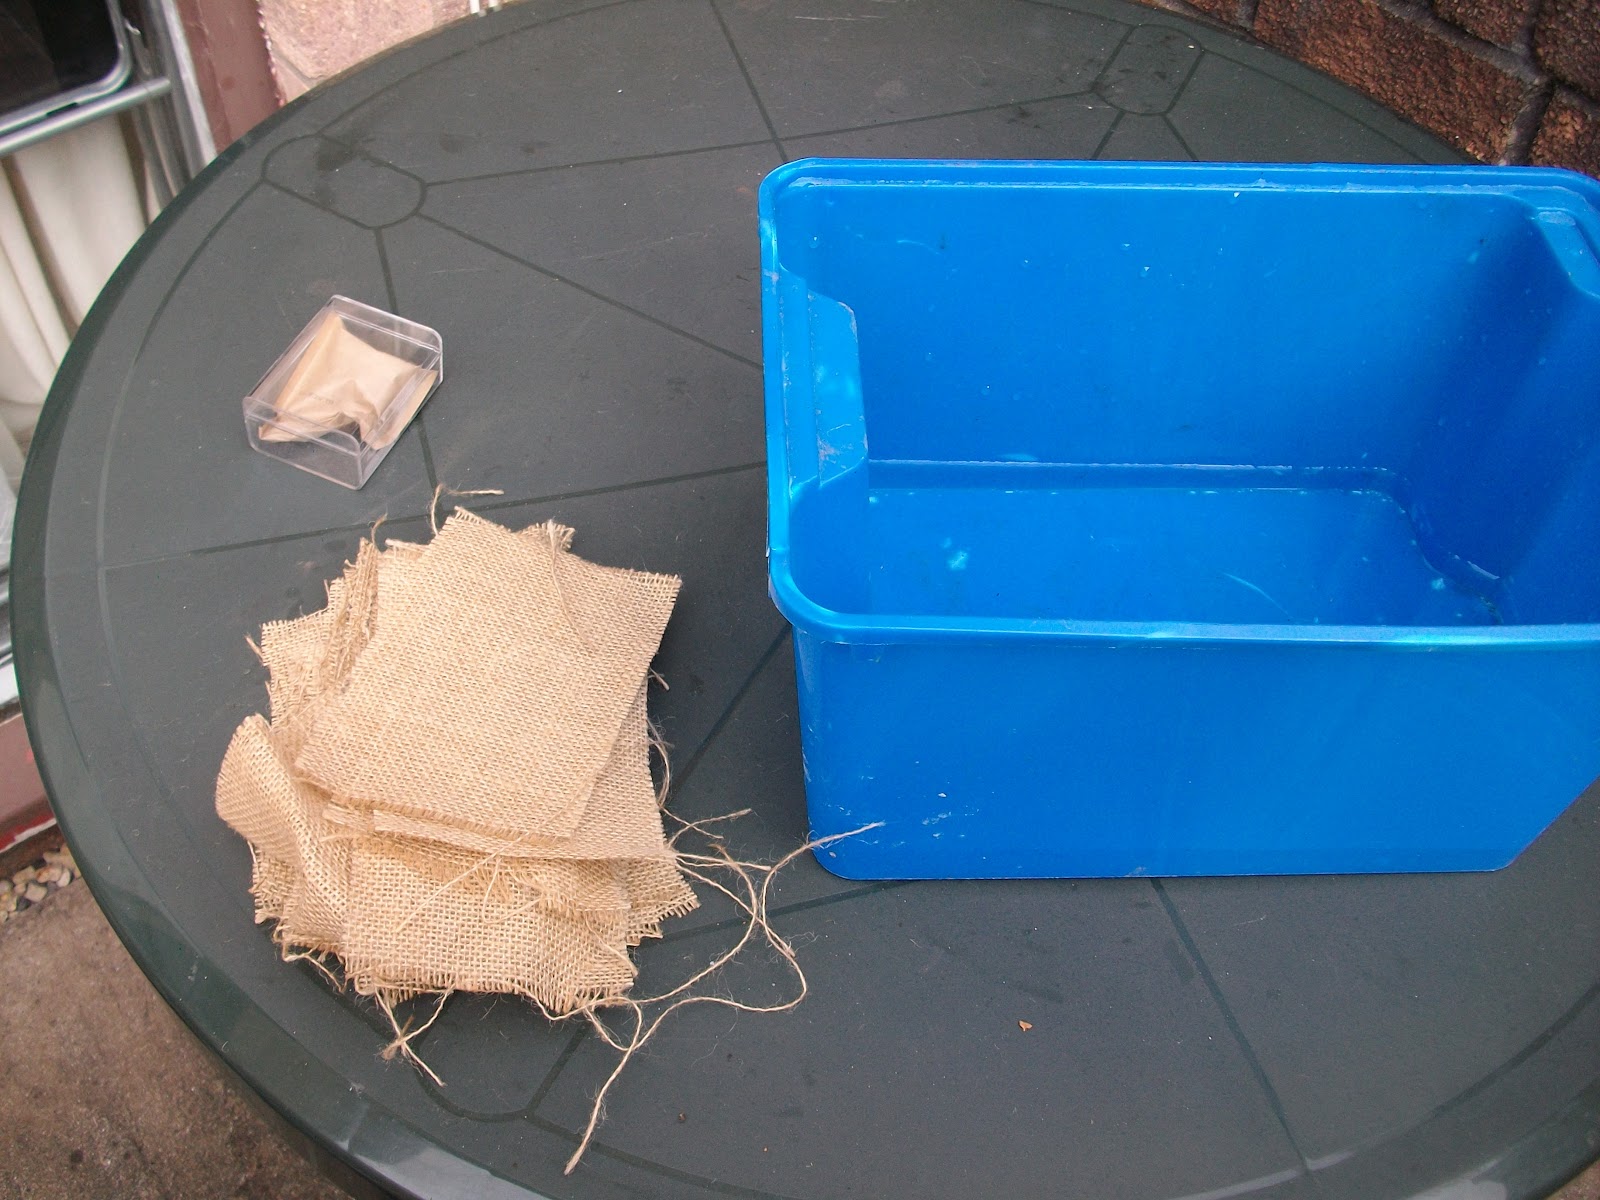
 The dyeing of the hessian worked (I think) so I started making the 'micarta' (using the same method that I used in my second post) . After I had seven layers of hessian I covered them with a piece of clingfilm , positioned the blade in the middle and then covered it with some more clingfilm .
 I then put another seven layers on top of that.
 Into the press and clamps for a few hours .
 After a few hours and a bit of a clean up and trim