Thursday, 7 April 2011

An hour in my garage part 2


I managed to get into my garage for another hour tonight .
here is my heat treatment setup, a pile of thermalight blocks , a gas torch and tube full of veg oil.


Heating up


Nice and hot


I then heat the oil to a point where I can see small bubbles breaking on the surface of the oil.
I heat the blade again and check for magnetism and then quench in the oil


And if all goes well it looks like this . Nice and straight with no cracks. Once it's cool I give it get a good clean and then off to the kitchen oven to temper for an hour


I got bored waiting for things to cool down so I
started another one


Thanks for looking
Warren


Wednesday, 6 April 2011

An hour in my garage

I finally got some steel from Cromwell's last night ,so I got stuck in after work today .
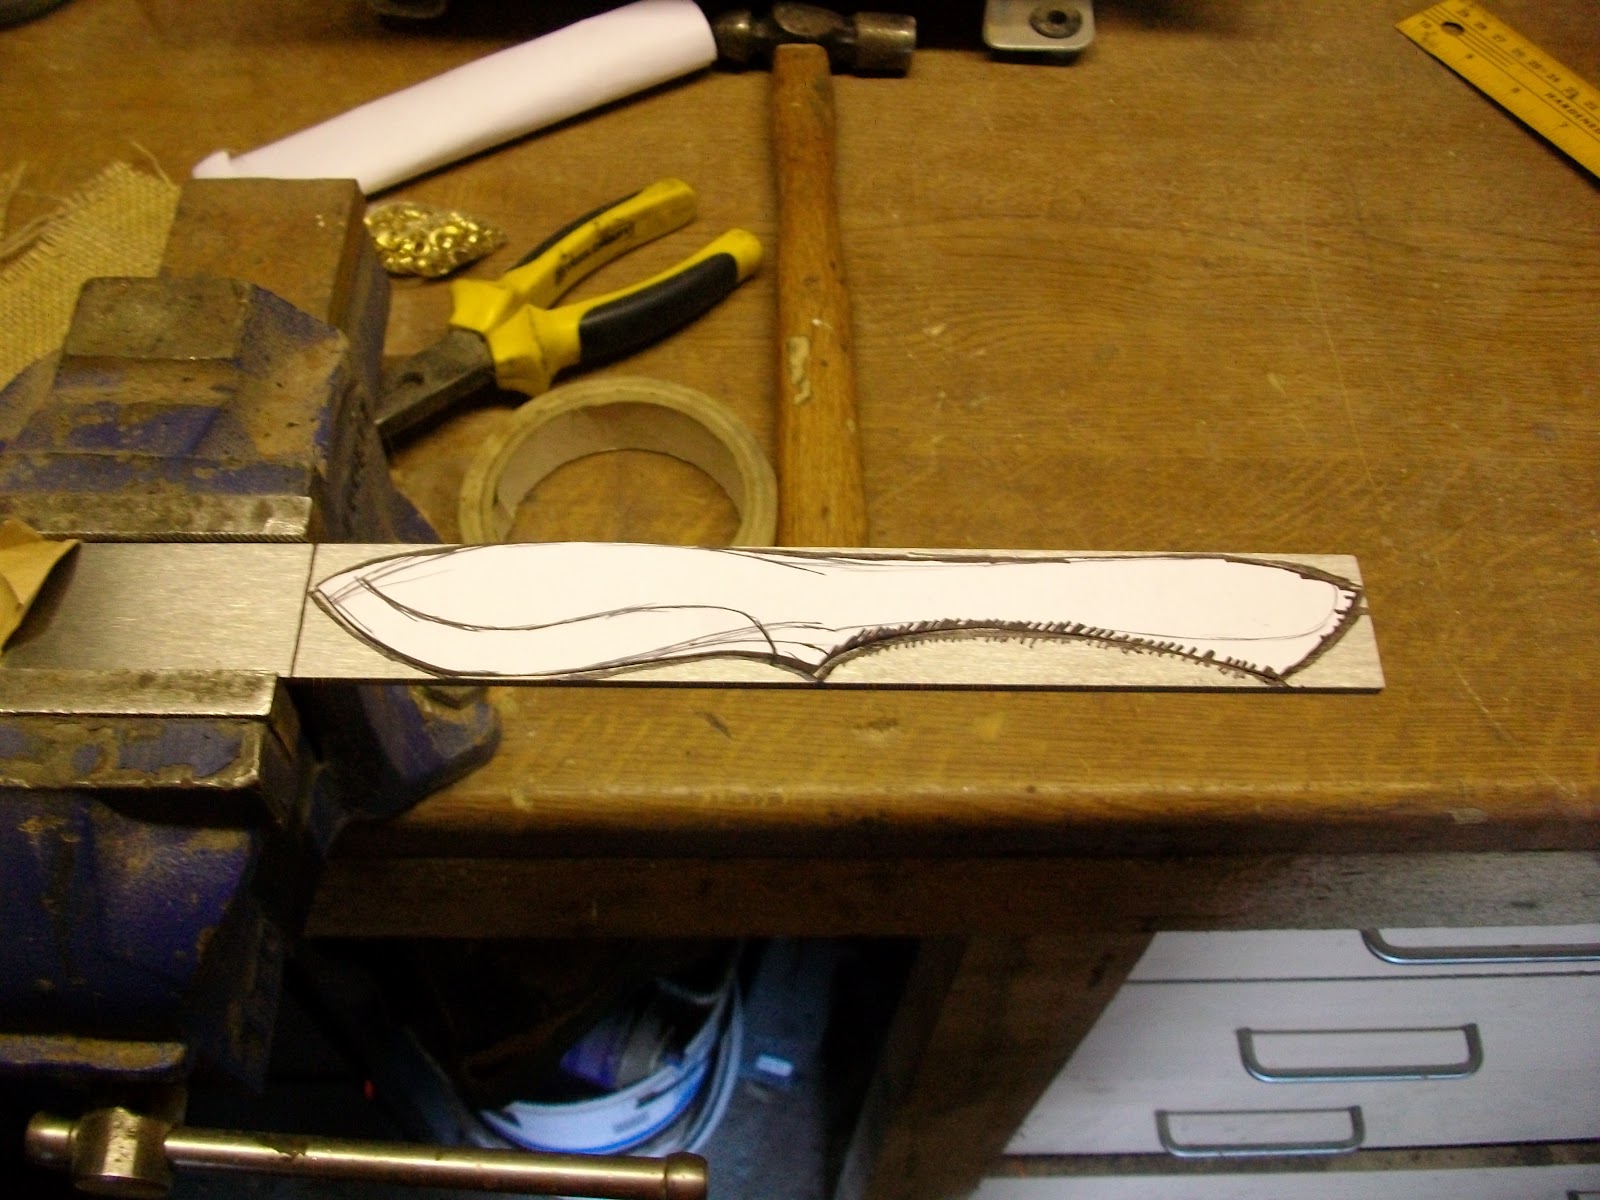
I don't normally use templates , but i thought i would have a try.
The steel is 3mm 01 flat ground stock.


All marked out with a black 'Sharpie' and ready for cutting out.


Roughly cut out with an angle grinder with a thin cutting disc.


All profiled and ready for the grinding of the bevels.


.
All set up and ready for grinding . I have marked a centre line where the edge is going to be and put a home made clamp on the blade to keep the plunge line even . My little jig made from an old spirit level is set at 11 degrees to give an angle 22 degrees on the final bevel.


My little grinder


This must be the most difficult blade Ive ground so far, there are just to many curves,but I think the bevels have come out all right


Just setting up the tool rest to grind the tang and the swedge.


Grinding the swedge.


Grinding the tang.
Two 4mm holes and a 6.5 mm hole are dilled for the pins and lanyard tube . I drill a few more holes in the tang to get rid of some weight .

It's now ready for heat treatment . Hopefully I will get chance to get it done tomorrow.


I hope you found it interesting and thanks for looking

Warren

Monday, 4 April 2011

Hessian 'micarta' part two

I unwrapped it this afternoon so it had about 24 hours in the clamps . It seems to have worked well.
I will trim the edges with a hand saw before I cut it into scale size pieces


There are small bubbles on the surface (you can almost see them in the picture ) , its pretty normal for hessian 'micarta' . I normally fill them with resin or superglue once the handle has been shaped and sanded to about 400 grit.
Now I just need some steel to make the blade .............. 

Sunday, 3 April 2011

Hessian 'micarta' work in progress

I thought I would make a start on my next knife , the only problem is I have run out of steel and Cromwell's are taking there time getting more in stock. Its been long enough for the hair to start growing back on my left arm.
So this is all a bit backwards , I'm starting on the handle first.

I first cut some hessian into pieces 4.5 x 8 inches long .Ten pieces are normally enough for a 6mm thick slab.
The resin I use is polyester fiberglass resin , a small cup full is normally enough


I work on a piece of greaseproof paper (it helps with the clean up) .I work the resin into the hessian with my fingers one sheet at a time until I have a stack of ten , making sure to get it nice and wet right into the corners


Once I have it all nice and sticky I wrap it up in the greaseproof paper and tape the edges with masking tape.
the neater you are at this the cleaner your floor will stay.


I use a couple of bits of 6mm aluminium as spacers to help keep the sides of the press parallel.
I have two bits of an old plastic cutting board to put the parcel between to keep the surfaces as smooth as possible and then into the press


As you can see my press is made up of two planks and some nuts and bolts . I find the G clamps stop the planks bending in the middle.
I leave it all clamped up for at least 12 hours ,so I will take some more photos tomorrow when I find out whether it has worked or not


Thanks for looking , if you have any question or comments feel free to use the comments box


Warren

Saturday, 2 April 2011

My first post so bear with me

Hi

This my first post on my new blog , so I'm not to really sure that I'm doing it right.

Anyway this is going to be a blog about the knives I make and how I make them .
To start with I would like to thank all the people over on British Blades for all the information and support they have given me since I took the first steps on the very slippery slope known as 'KNIFE MAKING'.
If you have ever considered making your own knife 'British Blades' is the place to go for info and help


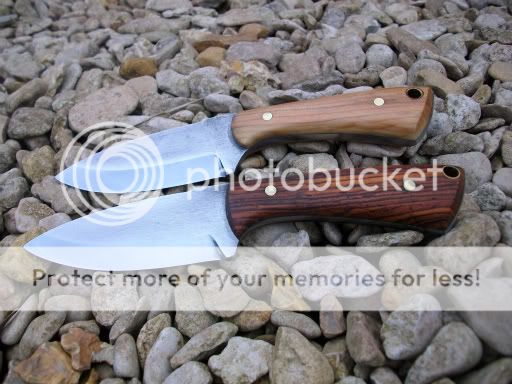
These are the latest ones to come from my workshop.
They are both made from 4mm thick 01 tool steel
hardened and tempered by me . The handle scales are yew and cocobolo with brass pins and lanyard tube 


Anyway thanks for having a look and feel free to comment