Saturday 30 April 2011

GITD 'micarta'

Ok , all trimmed up


the back


in the dark , after a little charge up with a torch
now I just need to stick it on a knife

More 'Micarta'

I made a slab of 'micarta this morning . It's a bit different to the slab shown in an earlier post , I used 10 pieces of orange satin as a base and then 8 or 9 pieces of hessian on top of that . I added some orange glow in the dark powder to the resin so it should be interesting ( if it works) I'm thinking of using it on the nessi blade that I made up the other day .

I KNOW POSTS WITHOUT PICTURES ARE POINTLESS , but I am on standby at the moment so I wanted to get it all put together as fast as possible . I will post pictures when I take it out of the press and test the GITD powder

Monday 25 April 2011

Another nessmuk

 I had some time to spare so I started another nessi. This one is a bit bigger than the last one (22 cm in total) . I copied the shape from the last one and lengthened it a bit and then rough cut it out with an angle grinder
 About 20 minutes later and a 80 grit belt on the grinder
 not a very good picture ,but the bevels are now done . 22 degree zero ground scandi bevels . some people don't zero grind before heat treatment , but I haven't had any problems as long as the quench oil is hot
Holes drilled and countersunk a bit to get rid of any sharp bits . I should get to do the heat treatment tomorrow if all goes well

Sunday 24 April 2011

Dagger KITH knife part 7

This should have been called a DITH.
I reshaped the handle to get rid of the pain brush handle and wet sanded the handle and then gave it a coat of superglue and then sanded it again through the grits up to 600 wet and dry . The superglue isn't necessary but it does speed the sanding up a bit and it fills any little holes in the 'micarta' . to finish off i polish the entire knife with autosol  metal polish


in the hand


close up of the 'micarta'

This is my first dagger , I've just been making it up as I go along  so I'm quite happy with the result

thanks for looking
Warren

Dagger KITH knife part 6

I've just done some rough shaping on the grinder . the pieces of 'micarta' seem to have joined together nicely


A few holes in the handle for brass pins , these are more for decoration than anything else . the epoxy should be strong enough to hold it together (unless someone puts it in a dishwasher)


I've put a lanyard tube in the last hole .
I'm not sure about the handle shape at the moment , it looks a bit to much like a paint brush handle , so it will probably get changed next time I get into my garage

Friday 22 April 2011

Dagger KITH knife part 5

I have now hand sanded the blade and given it a few passes on the polisher . The handle scales have been trimmed down a bit


I shape the top of the scales first and sand them because once everything is glued together its impossible to sand them without scratching the blade


after a bit more shaping on the grinder and a good scrub with some acetone its time to mix up some epoxy . An upside down beer can works well as a mixing bowl (please don't drink and play with knives )


You can never have enough clamps !
We'll see if it's worked in the morning

Monday 18 April 2011

Dagger KITH knife part 4

The dyeing of the hessian worked (I think) so I started making the 'micarta' (using the same method that I used in my second post) . After I had seven layers of hessian I covered them with a piece of clingfilm , positioned the blade in the middle and then covered it with some more clingfilm .

I then put another seven layers on top of that.

Into the press and clamps for a few hours .

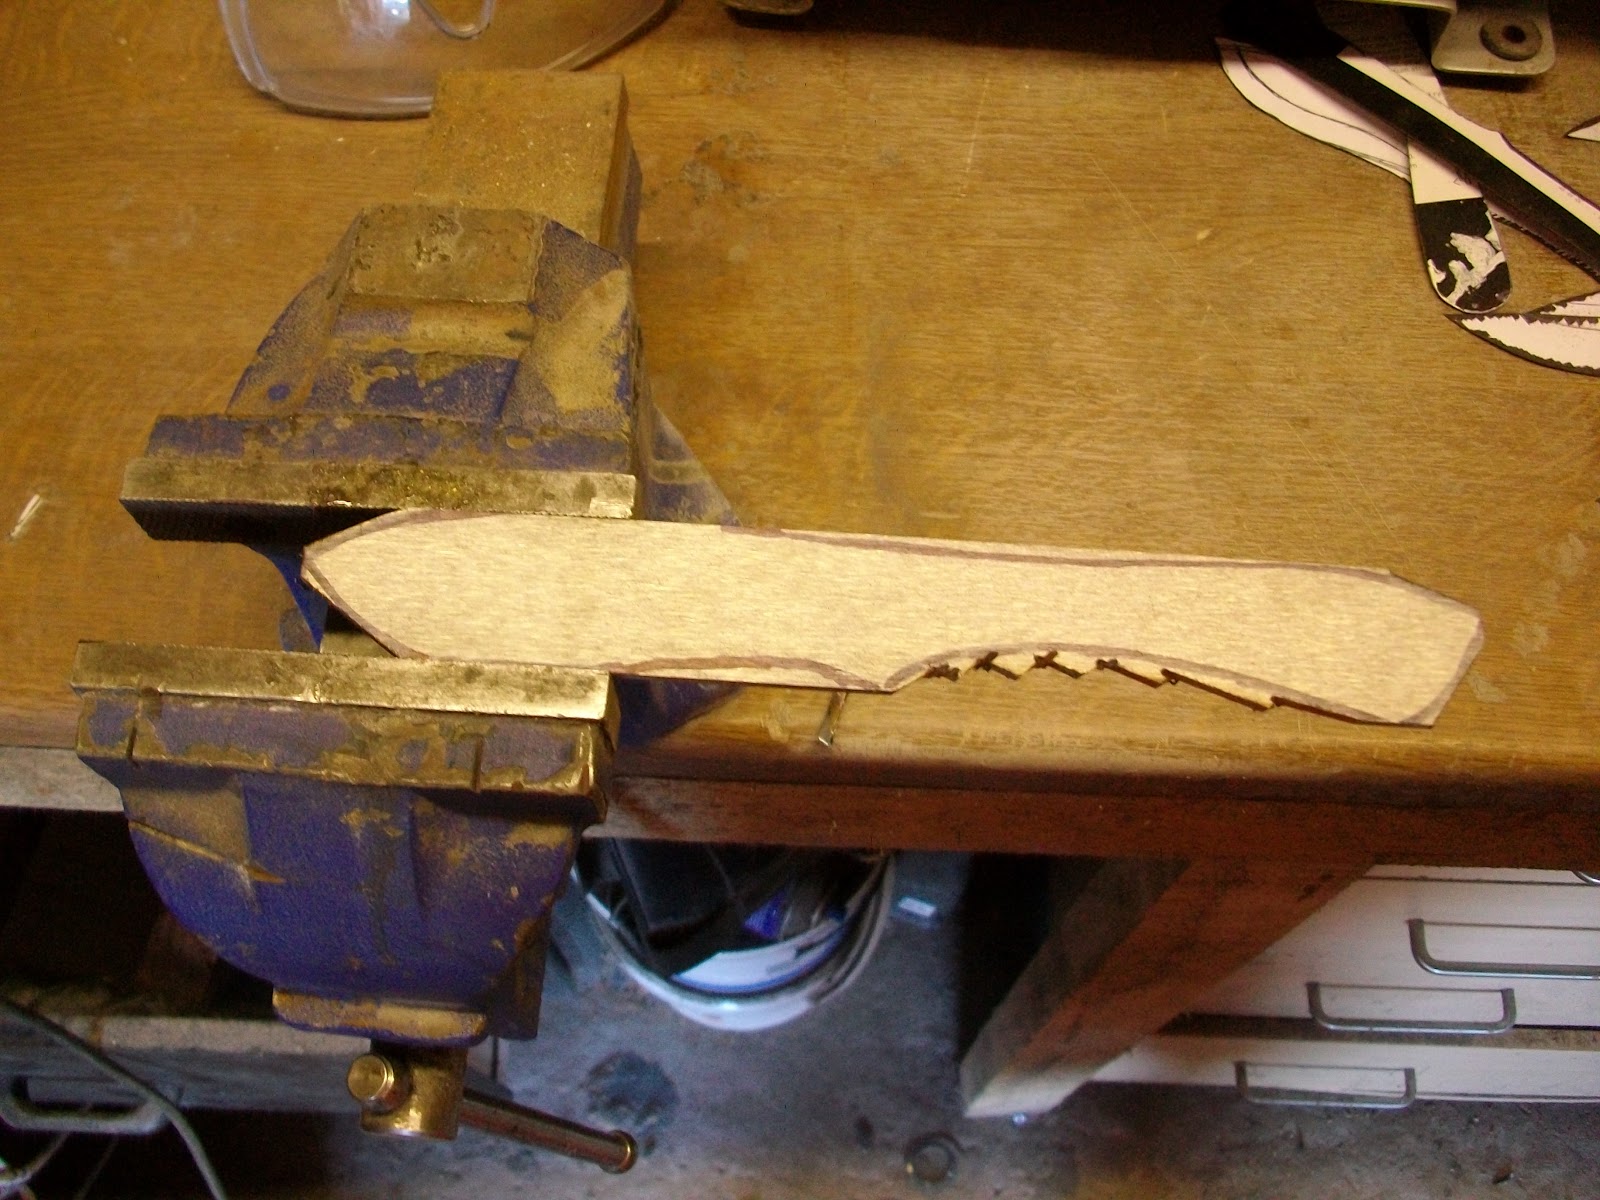
After a few hours and a bit of a clean up and trim
This might be seen as cheating but it seemed easier than chiseling out a groove for the tang. The next step will be shaping the handle and gluing it all together 

Sunday 17 April 2011

Dagger KITH part 3

I have decided to use black hessian 'micarta' for the handle , so I need to dye some hessian (I've never done this so I hope it works ) . I've started with 20 pieces of hessian and some water based dye .


having a good mix up . I don't have any directions for the dye , so I'm going to leave it to soak for a couple of hours and see if it works .


It's seemed to have done the trick . I will start with the 'micarta ' tomorrow afternoon

Saturday 16 April 2011

Dagger KITH knife part 2

I went round to a friends to get a bit of mild steel welded onto the blade for the tang (see I did give you a mention ,Jeff ) . He did manage to give himself a little nick in the process.


I have now done the heat treatment and given a bit of a clean up on the grinder


Now it need a few hours of sanding and then a handle of some sort. I am thinking of putting some brass rivets in the holes ,but who knows I might think of something else by then.

Dagger KITH knife

Another KITH has started on British Blades and its all about symmetry .
For those of you unsure about what a  'KITH' is , it's a Knife In The Hat . So everyone makes a knife and then names are drawn and knives get swapped.
The finish date for the KITH is sometime in September so I have lots of time to decide what to do for a handle (good thing too ,cos I don't have a clue )

Thursday 14 April 2011

An hour in my garage part 5

I think I should start calling this ' Two weeks in my garage'
Anyway the glue has set, so the scales the scales need shaping . I follow the same steps as I did with the skinner .


 All shaped and ready for hand sanding and then a good soak in danish oil


Just a picture of the liners


And this is what they look like after a fair bit of hand
sanding and 12 hours in danish oil


There a re still a few scratches that need to be sorted out , but I'm pretty happy with them so far

Thank you for having a look
Warren

Tuesday 12 April 2011

An hour in my garage part 4

The fiber liners are stuck on the scales and need to be shaped . I use my grinder to remove the excess and then re drill the holes . I also drill a few holes through the liners and into wood to give the epoxy some more purchase


All glued and pinned


All clamped up


Now the skinner is ready for the next step


I shape the end of the handle first using the work table on the grinder set at the same angle that I used when i ground the tang. the next four photos show the shaping of the handle , Its all done on the grinder on the slack part of the belt


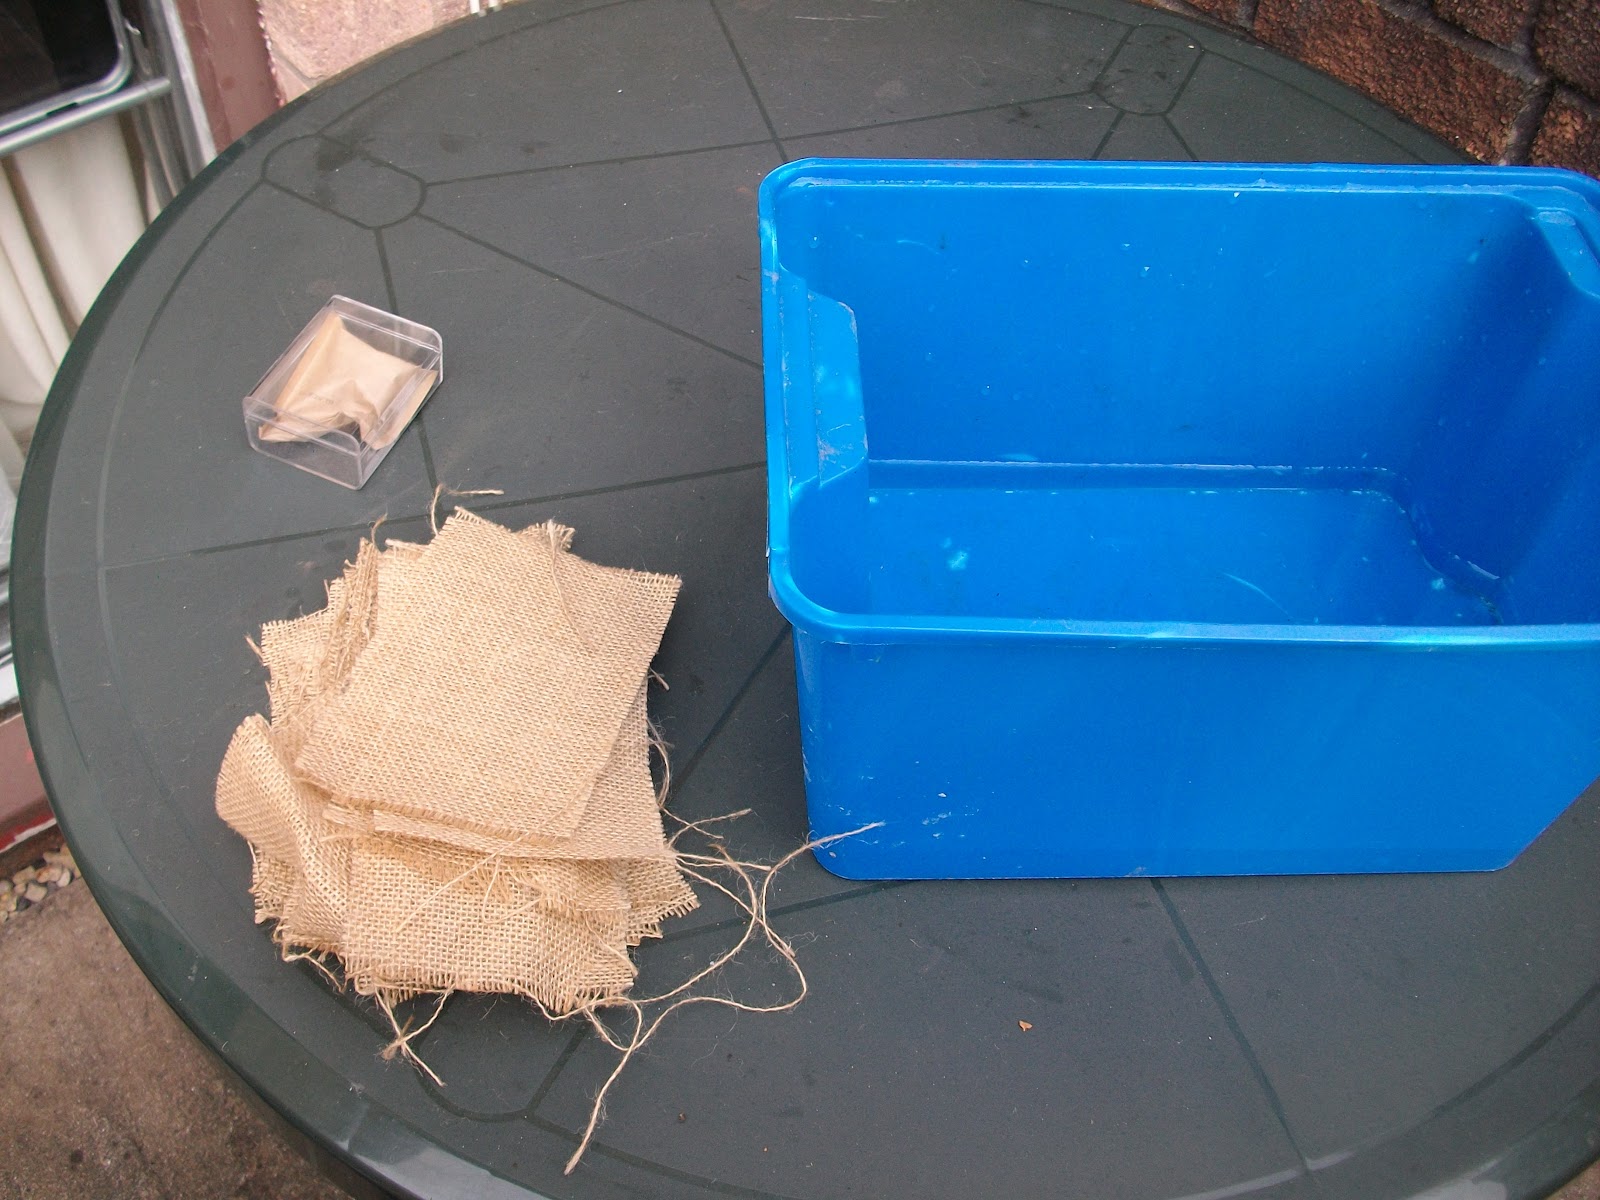
I gave it a quick dip in Danish oil just to see what the grain is going to look like , and it shows up the scratches . Once the oil has dried I will start hand sanding .  

An hour in my garage part 3

Now that the two blades have been heat treated
and cleaned up on the polisher I need to decide
 what handle material to use on them . There are still some scratches on the bevels , but I will sand them out when I do the final sharpen and clean


I decided on some Turkish Walnut for the skinner and Yew for the nessmuk (I think its a nessmuk)
The walnut came from Stew Light about 18 months ago and the yew came from Isca Woodcraft's .
In this photo the scales are just roughly cut to size.


Here they are profiled on my grinder . I find grinding them to shape with a 80 grit belt is quicker and neater than cutting them with a coping saw


I drill one hole and then pin the blade to the scale to keep it in place while I drill the other holes .I use a 4mm drill for the pins and a 6mm drill for the lanyard tube 
Once the holes have been drilled. I pin the two scales together and shape the front edge . Its easier to get the two scales symmetrical if you shape them together.

I thought I would have a go at using some fiber liners with the yew scales, so I epoxied the scales to the liners and clamped them together

While the glue was drying on the yew scales I started putting the skinner together . once the pins and tube are cut to length I give everything a good clean with acetone .
After a nice even coat of epoxy on the scales,pins and tube I fit the pieces together and put them in my vice for about 24 hours . At this point I cant do much more until the glue dries